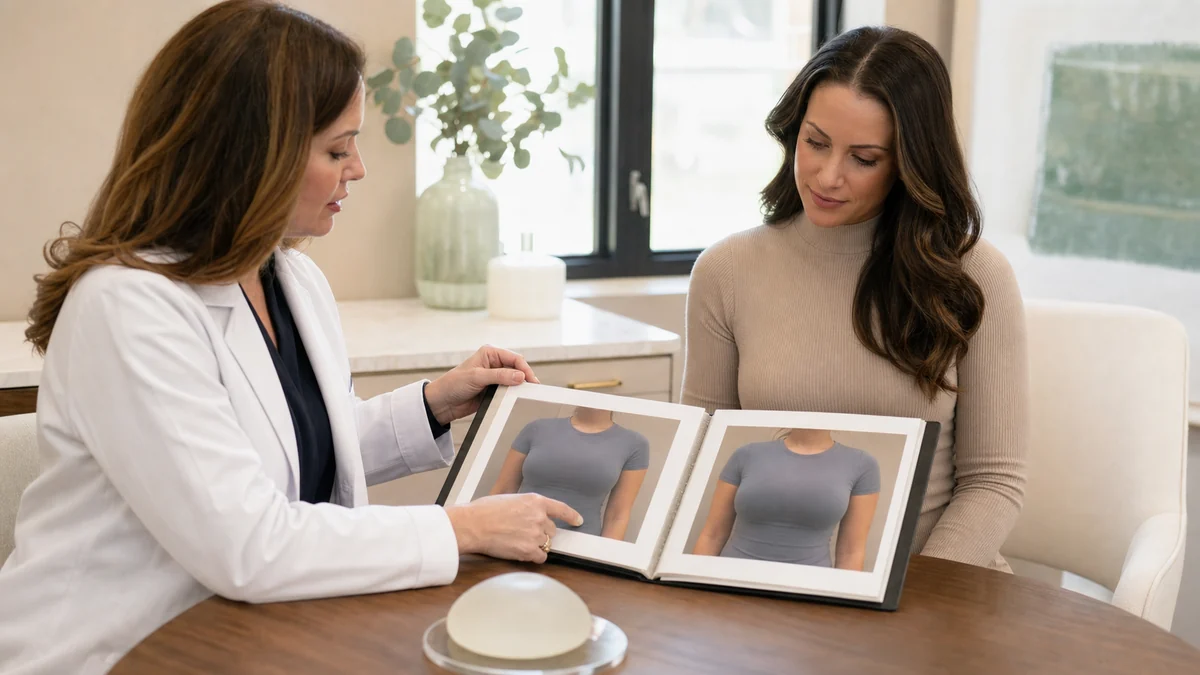
Breast augmentation before and after searches are dominated by dramatic-looking galleries, but the timing and framing of those photos matters enormously. Implants don't look "finished" the day after surgery — they go through a real settling process, and comparing your own early post-op appearance to someone else's fully-settled, months-later photo is one of the most common sources of unnecessary post-surgical anxiety.1
What Implants Change
Breast implants add volume and fullness, particularly to the upper pole of the breast, and can improve symmetry between breasts of different sizes. What implants do not do is reposition breast tissue that has sagged (ptosis) — that requires a breast lift, either alone or combined with augmentation. Understanding this distinction before surgery prevents a common source of post-surgical disappointment.
The upper-pole fullness that implants create — the rounded fullness above the nipple line — is one of the most visible changes in before-and-after photos and often the primary goal for patients who feel they've lost volume after pregnancy, weight loss, or simply haven't had the breast fullness they wanted. Implants are highly effective at achieving this specific change. What they don't address is the position of the nipple-areola complex relative to the inframammary fold — if your nipple sits at or below your breast crease, augmentation alone will add volume to tissue that's already sagging, often resulting in a "snoopy" or bottom-heavy appearance rather than the lifted look patients typically expect.
| Augmentation achieves | Augmentation does NOT achieve |
|---|---|
| Added volume and upper-pole fullness | Repositioning of sagging breast tissue |
| Improved symmetry between unequal breasts | Lifting the nipple-areola complex higher on the chest |
| Restored volume after pregnancy or weight loss | Improving skin laxity or texture |
| Fuller appearance in clothing | Permanent size (implants are not lifetime devices) |
It's worth noting that breast implants are not lifetime devices. The FDA advises patients to plan for eventual implant replacement or removal, and periodic monitoring with MRI is recommended for silicone implants to check for silent rupture.3 This doesn't mean implants fail routinely — many patients go 15–20+ years without issues — but it's an important long-term consideration that's rarely discussed in galleries focused on the immediate post-op result.
"Drop and Fluff": Why Early Photos Look Different
Immediately after surgery, implants often sit higher and appear firmer than they eventually will, partly due to swelling and partly because the chest muscle (in submuscular placements) is still tight around the implant. Over the following weeks, this "drop and fluff" process allows the implant to settle into a lower, more natural position while the surrounding tissue relaxes and softens around it. This process typically takes 6 to 12 weeks to substantially progress, with full settling sometimes continuing for 3 to 6 months.
The "drop" component refers to the implant moving downward from its initial high-riding position as the pectoralis major muscle (for submuscular placements) gradually relaxes around the implant. The "fluff" component refers to the lower pole of the breast expanding and rounding out as the tissue softens — giving the breast a more natural, teardrop-shaped appearance compared to the rounder, firmer look right after surgery.
For subglandular (over-the-muscle) placements, the drop-and-fluff process is generally shorter, since there's no muscle tension to release. For dual-plane or submuscular placements — the more common technique for patients with less native tissue — the process tends to take longer, and the difference between week 2 and month 4 can be significant. If you're in the early weeks and concerned that your result looks "wrong," it's very often simply incomplete settling rather than a true complication.
Size Expectations: CCs vs Cup Size
One of the most persistent points of confusion in augmentation consultations is the assumption that a specific cc volume guarantees a specific cup size. It doesn't: cup size is a function of band size, chest width, and how much natural breast tissue you already have, not cc volume in isolation. Our breast implant types and sizes guide covers this relationship, along with profile and base-width considerations, in more depth.
A useful rule of thumb is that approximately 150–200cc is often associated with roughly one cup-size change for a given patient — but this varies considerably based on starting tissue, bra brand, and chest dimensions. A patient going from a modest A to a full B may need a different cc volume than a patient with more starting tissue going from a full B to a C in the same bra brand, because cup sizing is relative to band size and not a fixed measurement.
The more clinically useful sizing approach focuses on base width — how wide the implant footprint is relative to your chest — rather than cup letter targets. An implant that matches your chest's natural base width typically looks more proportional and natural than one that overhangs or under-fills the natural breast footprint. Your surgeon will measure chest width during consultation and use this as a starting parameter for implant selection, not cc volume alone.
Implant sizers or 3D simulation tools, available in many practices, can help calibrate expectations more accurately than volume numbers alone. Even so, final appearance after full settling is influenced by factors no simulation fully captures, including skin stretch response and fat distribution.
How Body Frame Changes the Same Implant's Look
The exact same implant volume can look meaningfully different on two patients with different chest widths, rib cage shapes, and starting tissue amounts. A narrower chest tends to show more projection and cleavage from a given cc volume than a broader chest, which is why bringing a photo of a result you like to your consultation is useful for communicating a general aesthetic direction, but shouldn't be treated as a literal prediction of your own result.
Starting tissue matters for another reason: patients with minimal existing breast tissue have less natural coverage over the implant edge, which can make rippling or edge visibility more apparent. ASPS patient guidance emphasizes that implant choice and placement must be individualized to anatomy and goals; no single placement is automatically best for every thin patient.2
Body weight changes after augmentation also affect appearance. Significant weight gain or loss can change how implants look relative to surrounding tissue — a consideration worth discussing if your weight has been variable in the past or if you're planning major lifestyle changes.
Placement & Profile Effects
Implants placed under the chest muscle (submuscular or dual-plane) tend to have a more gradual upper-pole slope and better camouflage of the implant edge, particularly helpful for thinner patients, while placement above the muscle (subglandular) can offer a different — sometimes more immediately fuller — upper-pole look with a shorter initial recovery and potentially less animation deformity with pectoral muscle use.
Implant profile — how far the implant projects forward relative to its base width — is a separate but related variable. High-profile implants project more and have a narrower base width for a given volume; low-profile implants spread wider. For a given volume target, choosing a lower profile on a wider chest or a higher profile on a narrow chest can significantly affect how proportional the result looks. This is a conversation best had with visual aids during your consultation, not an abstraction.
Round versus anatomical (teardrop) implants offer another dimension of choice. Round implants produce consistent appearance in any position; anatomical implants are designed to replicate the natural breast slope with more fullness at the bottom and less at the top — but this benefit is only maintained if the implant is correctly positioned and doesn't rotate, which requires textured surfaces. The FDA has identified textured implants as having a small but statistically elevated association with BIA-ALCL (breast implant-associated anaplastic large cell lymphoma), a rare form of lymphoma.4 This doesn't mean textured implants are unsafe for all patients, but it's part of the informed-consent conversation your surgeon should initiate.
Reading Photos Critically
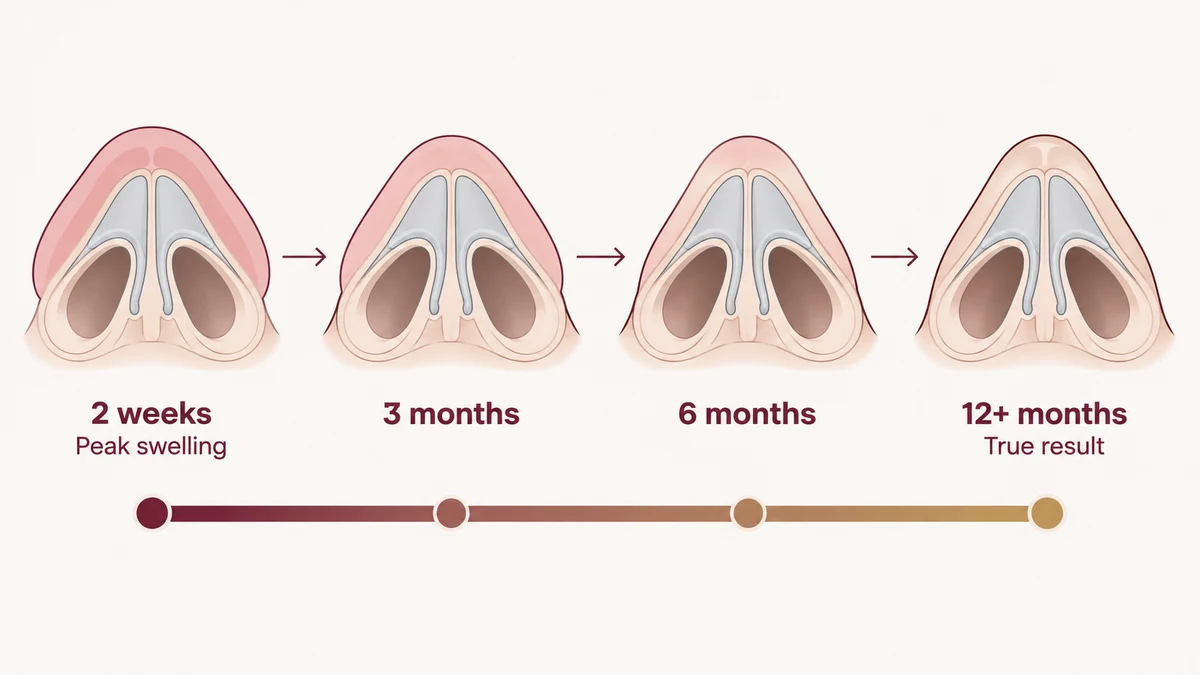
Beyond timing, the same patient in a supportive bra, tightening posture, and flattering lighting can look meaningfully different from a natural, unsupported standing photo. Before comparing yourself to a gallery photo, it's reasonable to ask how many months post-op it was taken and whether the patient's chest frame is comparable to your own.
Post-op timing
Photos at 4–6 weeks show a very different result than photos at 4–6 months. Galleries that primarily show early-stage results are not showing drop-and-fluff completion. The implants are still sitting high, the tissue is still swollen, and the upper-pole fullness that looks dramatic now may relax into something more natural within months. Always ask when the photo was taken.
Bra support and clothing
The same patient standing naturally unsupported looks noticeably different from the same patient with a subtle push-up bra or even a sports bra that adds compression. Some galleries mix supported and unsupported images across before-and-after pairs — which makes the augmentation look more dramatic than it is in daily life. Bare-skin, unsupported photos are the most honest comparison.
Posture and angle
Slightly leaning forward, arching the back, or dropping the shoulders all affect how breast fullness and cleavage appear in photos. A slight thoracic arch in the "after" pushes the chest forward and creates more apparent projection. These are subtle but real sources of visual variation that have nothing to do with the implant itself.
Lighting
Side lighting in the "before" photo creates shadows that emphasize the natural breast's flatness or asymmetry, while flat front-facing light in the "after" smooths contours and minimizes texture. Consistent lighting is essential for fair comparison — and rarely discussed in gallery presentations.
What breast augmentation photos rarely show
- The result unsupported, from the side: Most galleries show frontal views with implants appearing round and full. A true lateral view, standing upright with no bra, reveals the actual projection and natural drape more honestly.
- The result lying down: Implants — particularly submuscular ones — behave differently when lying flat. They fall to the sides in ways that natural breasts don't, which can be surprising if you've only seen standing photos.
- Long-term changes: Implants can develop capsular contracture, bottoming out, or visible rippling over years. Gallery photos at 6 months don't reveal these potential long-term changes.
- Weight change effects: Gaining or losing weight after augmentation changes how implants look relative to surrounding tissue. This is rarely shown in galleries but significantly affects real-world appearance.
- Combined procedure vs standalone: A "breast augmentation" result that also included a lift (augmentation-mastopexy) will look significantly different from augmentation alone, especially in patients who had some sagging before surgery.
Social media galleries present an additional challenge: heavily curated, often filtered, and rarely disclosing timing, these feeds tend to overrepresent dramatic results and under-represent the typical outcome. Verified clinical before-and-after photos — particularly those from published peer-reviewed papers or disclosed at the appropriate post-op milestone — remain the most reliable source for calibrating realistic expectations. Compare to cases with similar anatomy to yours: the same implant can look very different depending on chest width, existing tissue, and body frame.
Frequently Asked Questions
How long until implants settle?
Most patients see meaningful settling within 6 to 12 weeks, but full "drop and fluff" — where implants relax into their natural position and shape — can continue for 3 to 6 months, or occasionally longer with certain implant types and placements.
How many cc's is a cup size?
There's no single fixed conversion, since cup size depends on band size, chest shape, and existing tissue, not cc volume alone — roughly 150 to 200cc is commonly associated with about one cup size change, but this varies by individual anatomy. See our implant types and sizes guide.
Do implants fix sagging?
No — implants add volume but do not reposition sagging breast tissue or nipple position. If sagging is present alongside a desire for more volume, see our breast lift vs implants guide for the combined option.
What is "drop and fluff"?
"Drop and fluff" describes the gradual process where implants, initially sitting high and tight right after surgery due to swelling and muscle tension, settle downward and soften into a more natural position and shape over the following weeks and months.
Will my results look different from photos I've seen?
Almost certainly to some degree, since your chest width, existing tissue, skin elasticity, and posture all affect how any given implant looks on you specifically. The same implant can look noticeably different on two different body frames, which is why sizing should be personalized rather than copied from a photo.
Can implant placement change how natural the result looks?
Yes — placing implants under the muscle versus above it affects how the upper breast slopes and how well the implant edge is disguised, particularly in thinner patients. Your surgeon will typically recommend a placement based on your existing tissue thickness.